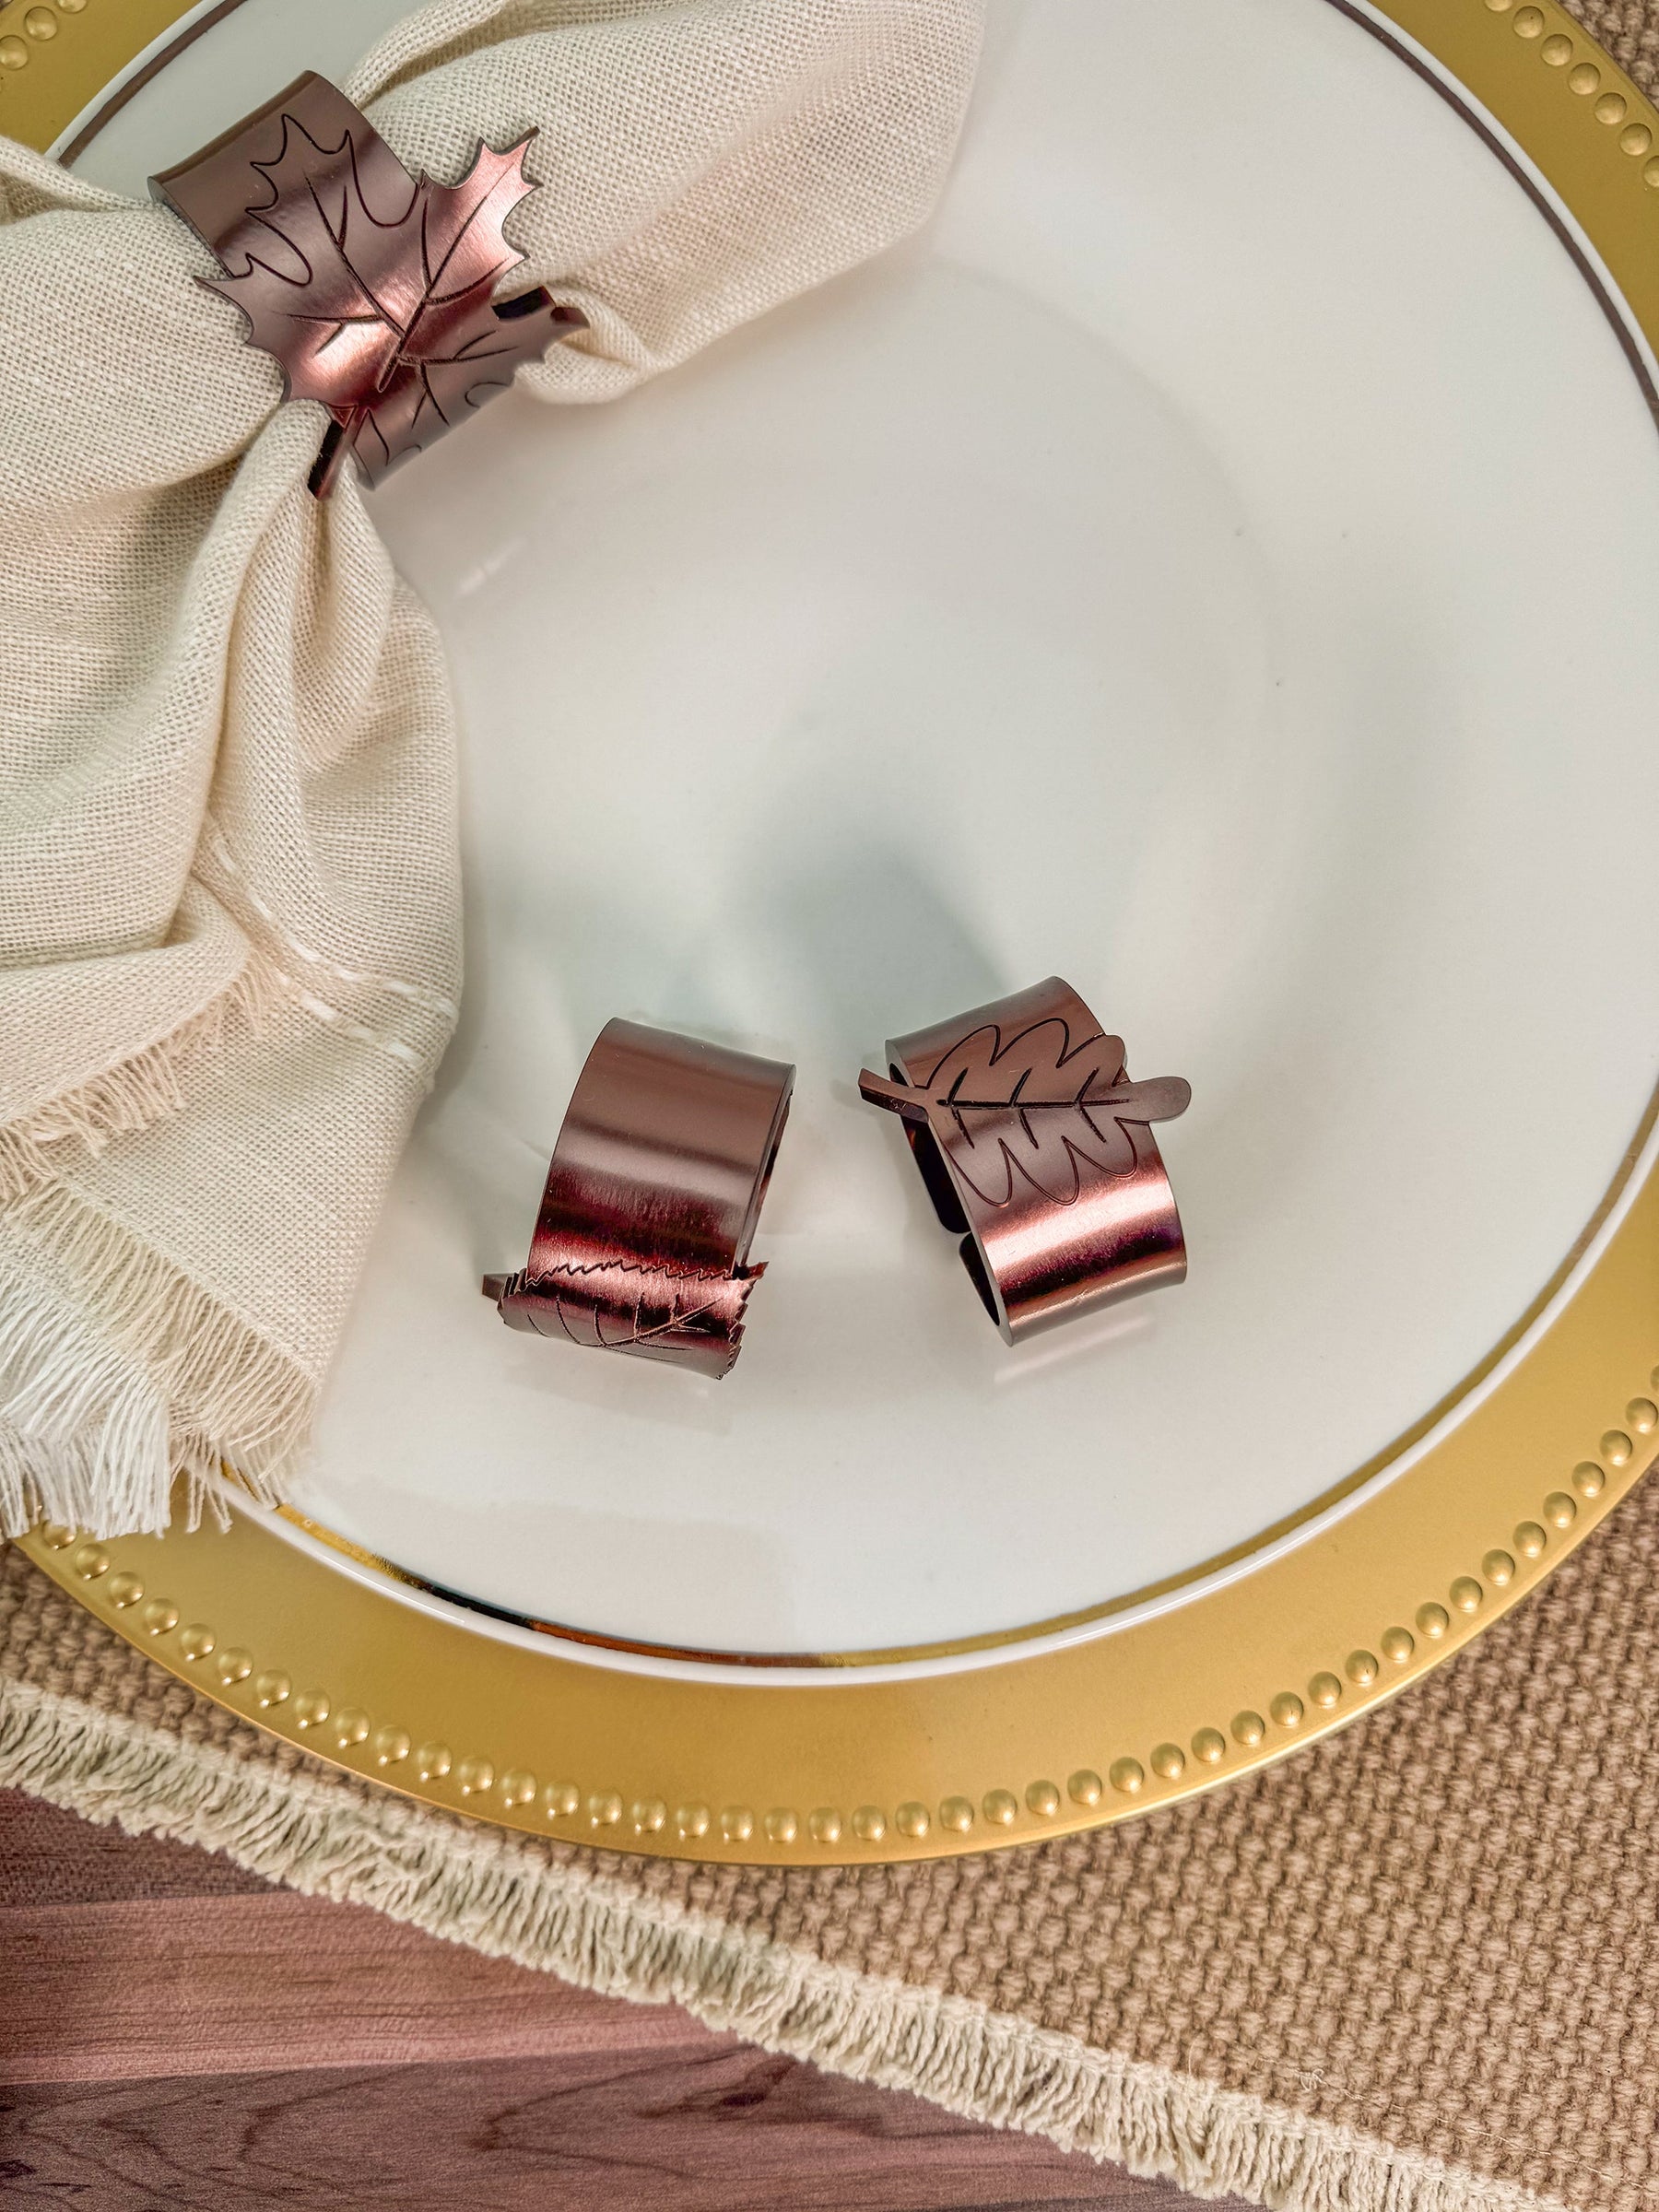
Craft Your Own Acrylic Napkin Rings!
Tired of your dinner table feeling plain? Want to wow your guests at your next dinner party? Look no further! With this simple project, you can create stunning acrylic napkin rings that are as unique as your style. Let’s get started!
Why Acrylic?
Acrylic is versatile, durable, and available in an array of colors and finishes, and you can bend it!!! Plus, once you’ve created these napkin rings, they’ll last through countless dinner parties. Say goodbye to boring table settings!
What You’ll Need:
- Acrylic Sheets: Cut using the included digital file.
- Heat Gun or Heat Press: To bend the acrylic. Shop our Heat Gun and Glove Set here.
- Heat-Resistant Gloves: For safe handling.
- Included Mold File: Designed to help shape your napkin rings perfectly.
- Optional Tools: Needle nose pliers for holding acrylic while heating.
Step-by-Step Instructions
-
Laser Cut and Engrave Your Acrylic
Start by using your laser cutter to cut out and engrave the acrylic sheets with the provided digital file. Be sure to cut out the included acrylic "mold" for shaping the napkin rings—it’s sized perfectly to make this project easier. We cut ours from ¼” scrap wood. -
Prepare Your Workspace
Lay your acrylic pieces on a heat-resistant surface. Have your gloves, heat gun, or heat press ready. Place the mold nearby for shaping. - Heating Methods
- Heat Gun Method:
- Set the heat gun on a low setting and apply even heat to the middle of the acrylic strip.
- Keep the heat gun moving to avoid overheating or creating bubbles.
- Heat for 1-2 minutes, or until the acrylic becomes pliable.
- Heat Press Method:
- Preheat the heat press to 400°F.
- Sandwich the acrylic strip between parchment paper to protect the heat press.
- Heat for 30 seconds. Adjust the time if necessary, based on your specific equipment.
-
Shape the Napkin Ring
Once the acrylic is pliable, carefully bend it around the mold to form a perfect ring. Hold the shape in place until the acrylic cools and hardens. The mold is specifically designed to help you achieve consistent, professional results. -
Adjust and Repeat
If needed, reheat and adjust the shape. Repeat the process for as many napkin rings as you need, experimenting with different colors or engraved designs. -
Finishing Touches
Once cooled, your napkin rings are ready to use! Arrange them on your table for an instant splash of elegance and charm.
Tips for Success
- Use Parchment Paper: If you’re using a heat press, always sandwich the acrylic between parchment paper to protect it.
- Safety First: Always wear heat-resistant gloves and work in a well-ventilated area.
- Experiment with Colors and Designs: Try using different acrylic finishes or engraving patterns for unique napkin rings tailored to your style.
Get Ready to Impress!
With your new acrylic napkin rings, your dinner table will look anything but boring. Don’t forget to tag us @craftclosetsupply when you share your creations on social media. We can’t wait to see your designs!

Leave a comment