
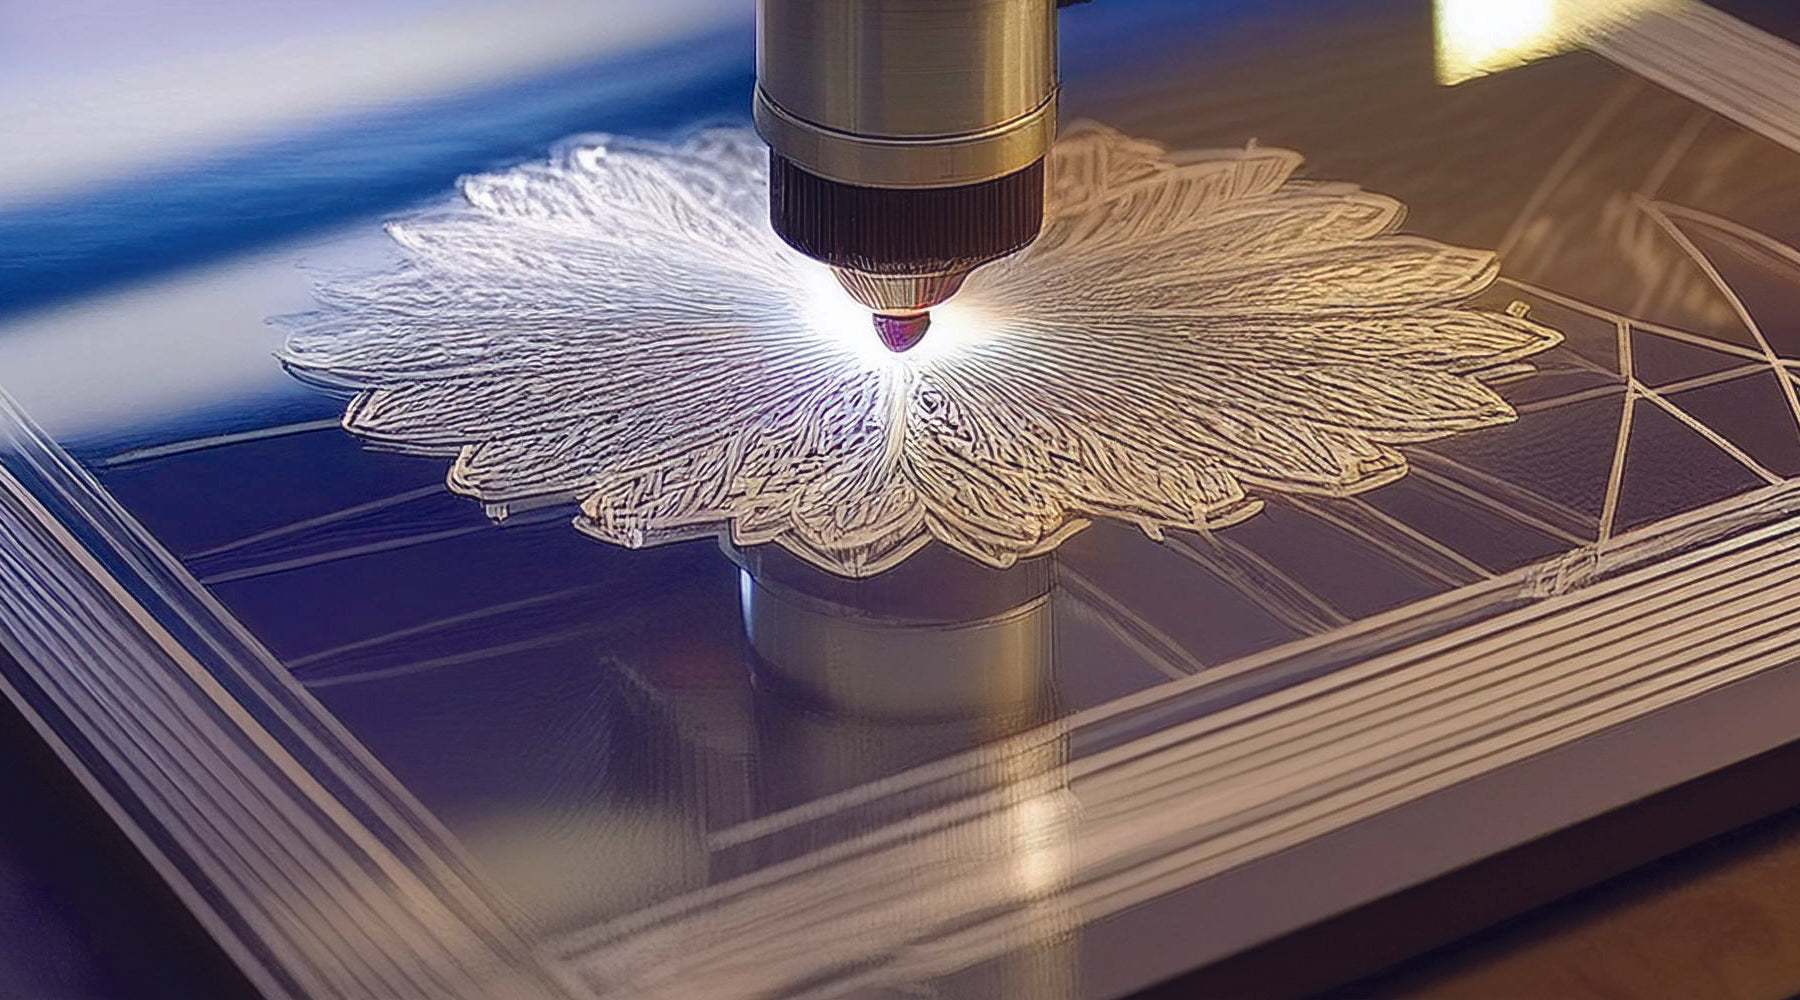
Engrave It Right: Tips and Tricks to Engrave Acrylic Like a Pro
Hey there, laser enthusiasts! Whether you’re just getting started with acrylic or you’ve been at it for a while, we’ve got some tips and tricks to help you make your next project shine—literally. Acrylic is super versatile, and with the right techniques, you can create some seriously amazing stuff. Let’s dive in!
Understanding Acrylic Types: Cast vs. Extruded vs. Mirrored
When it comes to acrylic, think of it like choosing between cake and cheesecake—both are delicious, but they’re not the same. Extruded acrylic is like cake—versatile and classic, with mirrored acrylic being a unique flavor of that cake, adding its own twist with a reflective finish. Cast acrylic, on the other hand, is more like cheesecake—rich, smooth, and a bit different, offering its own set of characteristics.
Cast Acrylic is generally the go-to for laser engraving. Its consistent material composition and clarity make it ideal for producing detailed engravings with high contrast. Whether you’re making awards, signage, or decorative items, cast acrylic gives you that crisp, white frosty look against a clear base. Plus, it’s less likely to craze—those pesky fine cracks on the edges—so your projects stay looking sharp.
Extruded Acrylic, on the other hand, has a directional grain due to how it’s made (by forcing molten acrylic through a die). This can sometimes lead to less detailed engravings and a dingy gray color instead of a bright white. But don’t worry—with the right settings, you can still achieve some pretty great results. Just be aware that extruded acrylic might require a bit more tweaking to get that perfect finish.
Mirrored Acrylic falls under the category of extruded acrylic, but it’s a bit of a unique case. It’s made by applying a reflective coating, usually aluminum, to one side of the acrylic, which essentially makes it single-sided for engraving purposes. This reflective coating gives mirrored acrylic its shiny, mirror-like appearance, but it also means you’ll need to approach engraving a bit differently than with regular extruded acrylic.
When engraving mirrored acrylic, always remember to mirror (reverse) your artwork so it appears correctly when viewed from the reflective side. For best results, engrave from the reverse (non-reflective) side to avoid a double image effect, which happens because the engraving reflects in the mirror underneath it.
Pro Tip: Always engrave first and cut second when working with mirrored acrylic, as all mirrored acrylic is extruded, and cutting first can cause issues similar to those encountered with regular extruded acrylic.
Pro Tip: Test Your Materials
Not all acrylics are created equal. Before starting on your main project, run a small test on a scrap piece to dial in your settings. This can save you time and material in the long run and ensures your final project comes out perfect.
Tips for Achieving the Perfect Engrave
One of the big decisions when working with acrylic is choosing whether to engrave on the front or back. For translucent, clear, or mirror acrylic, flipping it over and engraving from the back is often the way to go. This little trick gives your project a clean, dimensional look that’s perfect for polished, professional results. If your acrylic is printed, engraving from the back can also enhance the visual effect, especially when you mirror the image before engraving.
With mirrored acrylic, placing the mirror side down in the laser ensures the laser doesn’t bounce back at you. However, you can also try placing the mirror side up and engraving through the glass, depending on the effect you want to achieve. Just remember to mirror your print file if you want the image to reflect correctly when viewed from the reflective side.
Want to try something different? Go for a reverse engrave. This technique involves engraving everything except the parts you want to highlight. The unengraved sections stay clear or mirror-like, creating a cool contrast with the frosted engraved areas. It’s a great way to make your designs pop!
Pro Tip: Use Masking for Cleaner Engraves
Apply masking tape or transfer paper to your acrylic before engraving. This helps reduce scorch marks and keeps your acrylic clean, especially when engraving intricate designs. After engraving, simply peel off the masking for a crisp, clean finish.
Pro Tip: Protect Your Edges
If you’re concerned about chipping or cracking the edges of your acrylic when cutting, leave the protective film on the backside until after the cutting process. This adds an extra layer of protection, ensuring smooth edges.
Adjusting Depth: Power, Speed, and Defocusing
Controlling the depth of your engrave is key to achieving the look you want, and you can do this by tweaking the laser's power, speed, and focus settings.
-
Power and Speed: Start with lower power settings to avoid burning the acrylic, and gradually increase them based on your test results. You can also run a powerscale test to find the ideal speed and power combo for each type of acrylic. Remember, slower speeds can create more detailed engravings, but they also generate more heat, which can affect the quality of your engrave.
-
Defocusing: Another technique to try is defocusing the laser slightly. For most engravings, setting the focus height to 0.2 inches for ⅛” acrylic and 0.3 inches for ¼” acrylic can help you control the depth. Lower LPI settings (like 170) with a defocused laser will create shallower engravings, while higher LPI settings (like 340) will be deeper. Just keep in mind that defocusing might cause some loss of quality on very detailed engravings.
Pro Tip: Engraving Small Details? Adjust Your LPI
If your design includes tiny text or intricate details, increase the Lines Per Inch (LPI) setting. This gives your engraving more definition, making those fine details really stand out.
Pro Tip: Avoid Overheating with Air Assist
If your laser cutter has an air assist option, use it! Air assist helps to blow away debris and cool down the material as it’s being engraved, reducing the chances of overheating and warping your acrylic.
Pro Tip: Stack for Multiple Passes
When engraving deeper designs, consider stacking your engraving passes rather than trying to do it all in one go. This helps prevent excessive heat buildup and can lead to cleaner, more precise engraves.
Mastering Manual Engrave Settings
Now let’s talk about the trifecta of laser engraving: Speed, Power, and Lines Per Inch (LPI). Getting the right balance between these can make or break your project, so here’s a quick rundown:
- Speed: The slower the speed, the deeper the engrave. Need a lighter touch? Crank up that speed!
- Power: More power equals a deeper engrave, while less power gives you a lighter, more delicate finish. Start low and increase power gradually to find the sweet spot.
- LPI: This is all about detail. Higher LPI means sharper, more detailed engraves, while lower LPI is better for draft-quality work.
After engraving, don’t forget to clean your acrylic! A gentle wipe with lukewarm water and a few drops of mild dish soap will remove any residue and make your piece look brand new.
Pro Tip: Clean Up with a Magic Eraser
After engraving, if there are any stubborn residue marks left on your acrylic, try gently wiping them away with a damp magic eraser. It’s effective at removing smudges without scratching the surface.
Pro Tip: Use Contrast Fill for Extra Pop
Want to make your engravings stand out even more? Fill the engraved areas with a contrasting paint or acrylic fill. This can be especially striking on clear or mirrored acrylics.
Experiment and Share Your Results
Laser engraving acrylic is as much an art as it is a science. Don’t be afraid to experiment with different settings and techniques to achieve the look you want. And when you do, we’d love to see your work! Share your projects with us on social media and tag @craftclosetsupply to show off your creations.
Now, go ahead and have some fun with your laser! Happy engraving!
Leave a comment